When the idea of an IoT prototype hits the table, the first thing we do is ask: which constraints define the problem? Power, cost, form factor, and network reliability are the levers that shape every decision from the board to the firmware.
1. Define the Problem Space Early
The prototype should answer the question: does this idea actually solve a real problem under realistic conditions? Start by sketching the use‑case scenarios and mapping out the data flow. Identify the critical metrics—latency, battery life, data volume—and set quantitative goals. For example, if a sensor must report temperature every 10 minutes while running on a CR2032 battery, you need a microcontroller that can sleep in 10 µA mode and wake in less than 50 ms.
Write the requirements in a table, not prose. This forces you to consider trade‑offs early. If you decide that 1 kHz sampling is required, you might have to sacrifice battery life or cost. The table also becomes the reference point when you pivot the design.
2. Pick the Right Development Board
When the constraints are clear, choose a board that hits most of the sweet spots. For low‑power edge devices, the ESP32‑S2 and STM32L4 series are popular. The ESP32‑S2 offers 32 MHz Cortex‑M33, 32 kB SRAM, and dual‑band Wi‑Fi with 20 µA deep sleep. The STM32L4 runs at 80 MHz, has 128 kB RAM, and can stay below 5 µA in Stop‑Mode.
Consider the peripheral set: does the board have enough ADC channels, I²C buses, and SPI peripherals? If you plan to integrate a pressure sensor that needs 12 bit resolution, you need a DAC or an ADC that supports oversampling. A quick lookup shows that the STM32L4’s 12‑bit ADC can run at 1 MSPS, which is more than sufficient for most sensor workloads.
Also look at the software ecosystem. If you need rapid firmware development, the Arduino‑Core for ESP32 is a boon. For more deterministic timing, STM32CubeMX provides auto‑generated code that guarantees peripheral initialization order.
3. Design the Power Budget
Start by listing all components and their current draw in active, idle, and sleep states. Use the vendor’s datasheets and real‑world measurements. For example, an ESP32‑S2 in Wi‑Fi‑On mode draws ~260 mA, while in Wi‑Fi‑Off it drops to ~12 mA. In Deep Sleep, it pulls 20 µA. If your device must run on a coin cell for 30 days, you have to calculate the total ampere‑hours: 20 µA × 24 h × 30 days = 14.4 mAh. That informs your battery choice.
Incorporate a power‑management IC if needed. The Texas Instruments TPS62743 offers a 2.1‑V LDO with 300 mA output and <1 µA quiescent current, making it ideal for battery‑powered prototypes. Don’t forget the regulator efficiency; a 90 % efficient buck converter will save up to 10 % of the battery life compared to a linear regulator.
Common mistake: neglecting the standby current of sensors. A DHT22 sensor draws ~0.12 mA during idle, which adds up over time. Switch to a sensor with lower standby current or design the firmware to power the sensor only when needed.
4. Firmware Architecture: Modular, Testable, and Reusable
Use a layered architecture: hardware abstraction layer (HAL), services, and application logic. The HAL hides the specifics of the MCU registers; services manage drivers for sensors, communication, and power. This structure lets you swap a sensor driver without touching application code.
Adopt a real‑time operating system (RTOS) if concurrency is required. FreeRTOS on ESP32 allows you to assign high‑priority tasks to network handling while low‑priority tasks sleep. If the device is simple, a bare‑metal loop with power‑saving sleep states may suffice.
Write unit tests for the HAL and service layers. Use CMocka or Unity for C, or pytest‑embedded for Python‑based firmware. Running unit tests on the actual hardware early catches endian‑ness bugs and peripheral misconfigurations before the device is shipped.
5. Connectivity Strategy and Security
Choose the connectivity that matches the application. For indoor devices, Wi‑Fi is convenient; for remote deployments, LoRaWAN or NB‑IoT can be more appropriate. The ESP32 supports BLE and Wi‑Fi out of the box, while the STM32L4 can be paired with an SX1276 LoRa module.
Implement mutual TLS for MQTT if you’re using cloud brokers. Use hardware RNGs (e.g., STM32L4’s TRNG) to generate unique device keys. Never hard‑code secrets; store them in the secure element or in flash with encryption. A common mistake is to leave default credentials on the board; always perform a factory reset that wipes them.
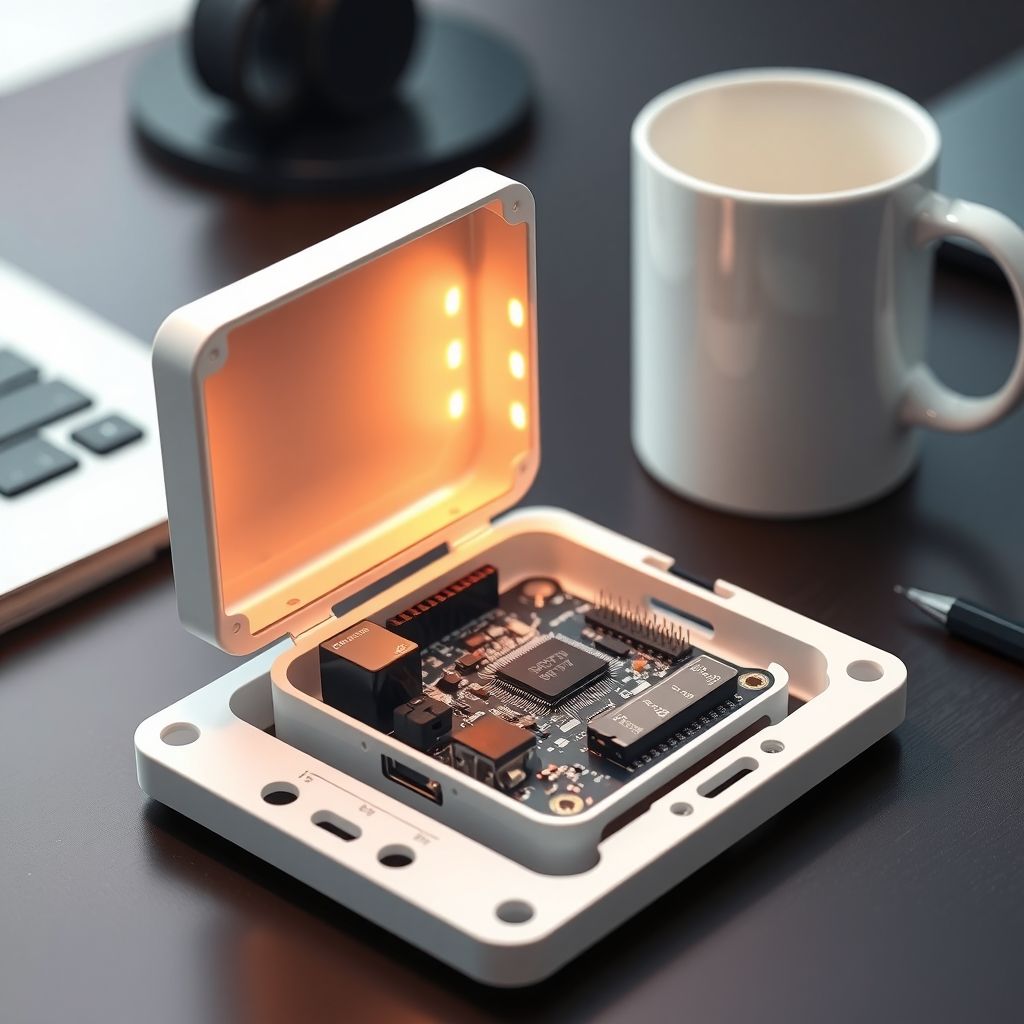
Simulate 30 % packet loss and verify that your retry logic re‑establishes the connection within 5 seconds. This kind of resilience is critical for field deployments.
6. Prototype Assembly: From Breadboard to PCB
Once the firmware works on a dev board, you move to a custom PCB. Use KiCad or Eagle to design a board that fits the form factor. Keep trace lengths short for high‑speed signals like SPI or UART. Add decoupling capacitors (0.1 µF and 10 µF in parallel) close to each IC to mitigate supply noise.
Perform a design‑rule check (DRC) to catch clearance violations. Then create a bill of materials (BOM) that balances cost and reliability. For instance, replace the 5 V regulator with a low‑dropout version that consumes less current; a 1 % regulator can shave off 0.5 mA from idle consumption.
During assembly, use a pick‑and‑place machine if you have many units. For a one‑off prototype, hand‑soldering works but increases the chance of misalignment. Validate the board with an oscilloscope before powering it up; check the power rails for noise spikes.
7. Data Handling and Edge Processing
Not every data point needs to be sent to the cloud. Use a lightweight edge processing algorithm to filter out noise or compress data. For example, a Kalman filter can smooth temperature readings and reduce the data payload by 70 %.
Store a small ring buffer (e.g., 512 bytes) in RAM for recent readings. If the network drops, push the buffer to the cloud when connectivity is restored. This guarantees data integrity without sacrificing battery life.
Use MQTT with retained messages to keep the cloud state in sync with the edge. The retained flag ensures that new subscribers receive the latest sensor reading immediately. Avoid using HTTP for sensor telemetry unless the device is Wi‑Fi‑only and latency is not critical.
8. Iterative Testing and Validation
Set up a test rig that simulates the real environment. For outdoor sensors, expose the prototype to temperature extremes from -10 °C to 60 °C and record performance. Use a battery load tester to verify that the device stays above 50 mAh after 30 days of operation.
Automate regression tests: compile, flash, and run a script that checks sensor values, network latency, and power consumption. Use a continuous integration server that triggers on every commit.
Collect telemetry data locally on a Raspberry Pi before sending it to the cloud. This intermediate logging allows you to capture transient faults that would otherwise be missed in the cloud logs.
9. Document and Prepare for Production
Write a comprehensive design document: block diagram, component list, firmware architecture, power budget, test plan. Include a BOM with part numbers and suppliers. For production, consider using a design‑for‑manufacturing (DFM) checklist to avoid layout issues that surface at scale.
Generate a bill of materials that includes both the cost and the lead time. If a component has a long lead time, identify an alternative early to avoid production delays.
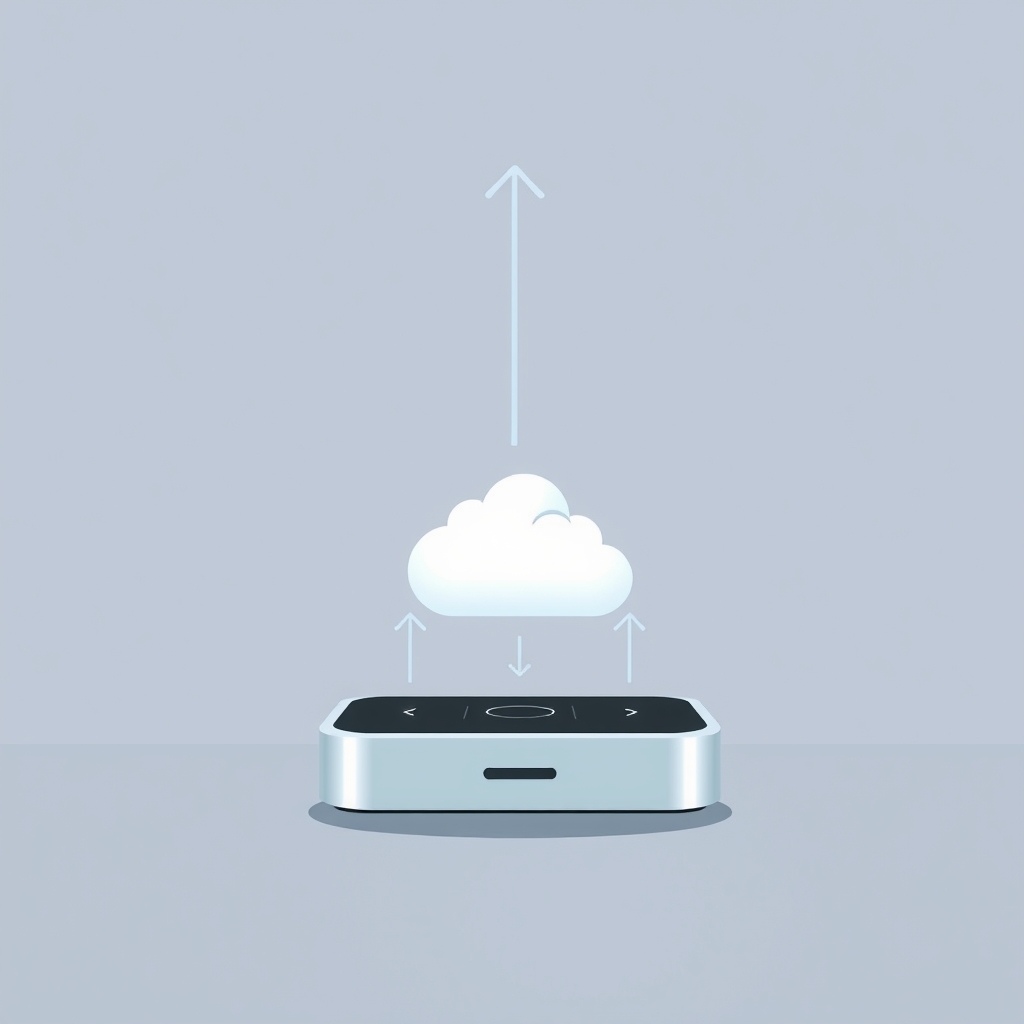
Plan the firmware release strategy: use versioning (e.g., 1.0.0) and maintain a changelog. Implement OTA (over‑the‑air) updates using a secure bootloader to patch bugs without replacing hardware.
10. Deployment and Maintenance
Once the prototype proves viable, migrate to a field‑ready board. Replace the development USB connector with a serial port or OTA interface. Add a status LED for quick diagnostics.
Deploy in small batches and monitor metrics: battery drain, packet loss, error rates. If the battery consumption deviates by more than 10 % from the estimate, investigate firmware power‑saving routines.
Establish a maintenance plan: schedule OTA updates, monitor firmware version distribution, and set up a support hotline for field engineers. Document all known issues and workarounds in the knowledge base.
11. Common Pitfalls and How to Avoid Them
1. Assuming the dev board is a final product: The dev board often has extra headers and power rails that add weight and cost. Re‑evaluate the layout when moving to a custom PCB.
2. Overlooking sensor power‑on time: Some sensors require >200 ms to stabilize. Add a delay or wake‑up logic to ensure valid readings.
3. Ignoring firmware size limits: A 1 MHz Cortex‑M0 can only handle ~32 kB of flash. Keep the firmware lean, split it into modules, and use linker scripts to manage sections.
12. Pull‑Quote
13. FAQs
Frequently asked questions
How do I choose between Wi‑Fi and LoRa for my device?
Evaluate data volume, range, and power budget. Wi‑Fi is suitable for high‑bandwidth, short‑range use, while LoRa is ideal for low‑rate, long‑range, and ultra‑low‑power scenarios.
What is the best way to secure my IoT device's firmware updates?
Use a secure bootloader with cryptographic signatures and encrypt the OTA payload. Verify signatures before flashing to protect against malicious updates.
Can I reuse the same microcontroller for multiple device types?
Yes, if the MCU supports the required peripherals and power modes. However, consider the pin count, available memory, and specific sensor interfaces for each device type.
At Inverge Tech, we turn these principles into tangible solutions for clients worldwide. Our engineering teams apply the same disciplined approach—from requirement capture to field deployment—to deliver reliable, cost‑effective IoT products that meet real‑world needs.